


Hello Finding My Aloha Readers! My name is Stephanie Lynn from Under the Table and Dreaming and I am so excited to be able to stop by Emily's today.

With the holidays right around the corner, I wanted to share a cute way to make giving plain simple cash a little more fashionable and fun. I have two nieces that consider themselves 'tweens' and now-a-days cash is pretty much the most awesome {in their words} gift they can receive. I am really not big on sticking a few bills in an envelope however with a little folding those plain old bills can be turned into a neat piece of art.
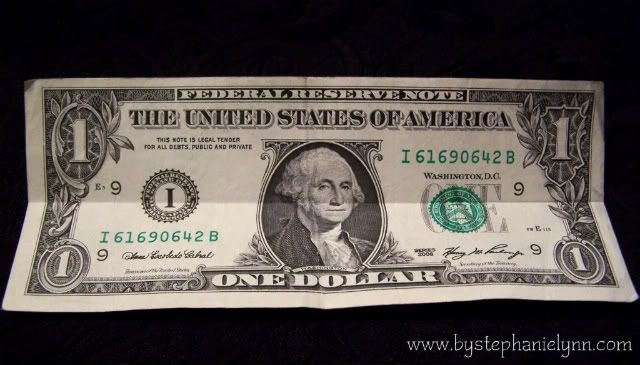
Begin by folding and creasing a single bill in half, horizontally. You will need a total of sixteen bills all together.
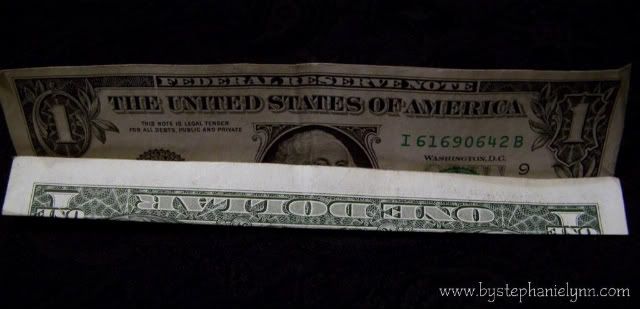
Unfold the bill and using the crease as a guideline, fold the top and bottom into the center.

Fold at the original crease,
then fold the bill in half, end to end.
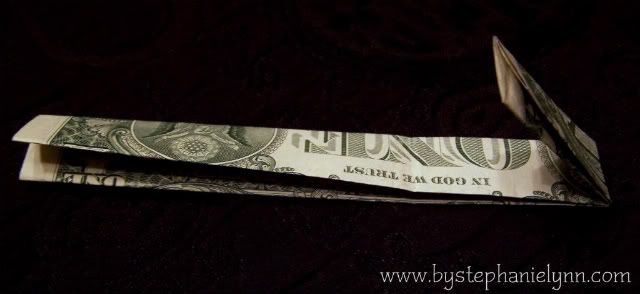
Unfold and using the crease as a guide, fold each end into the center.
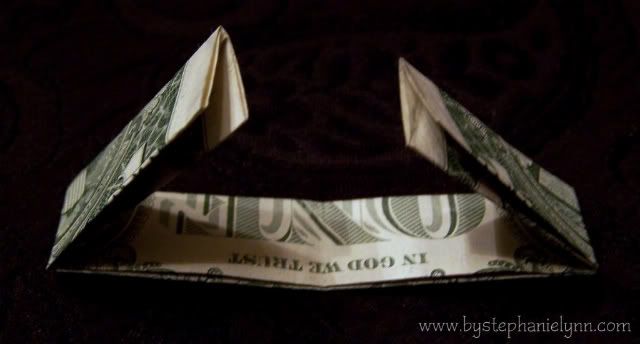
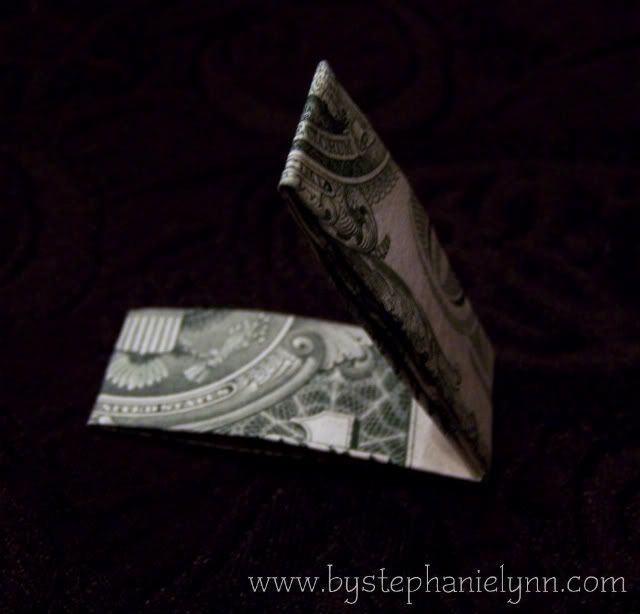
Fold in half at the crease. {repeat the steps above for all sixteen bills}
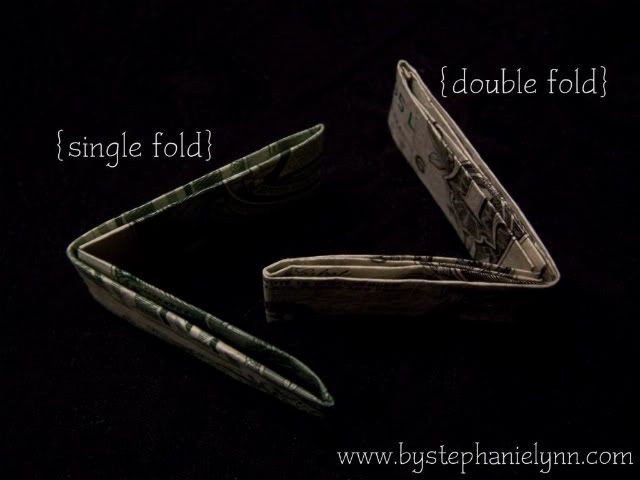
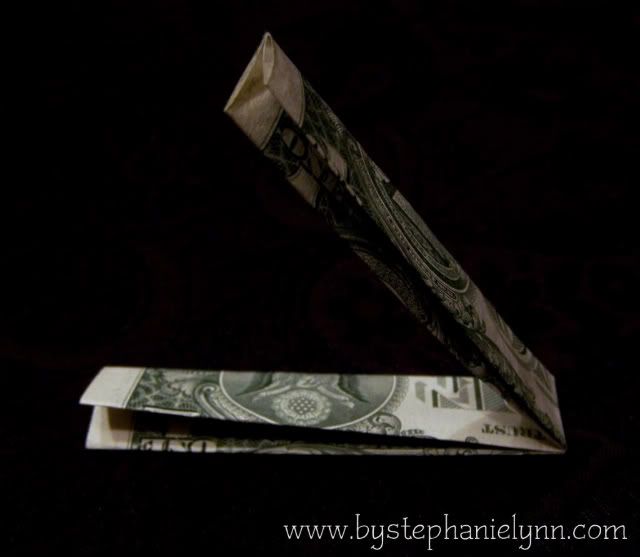
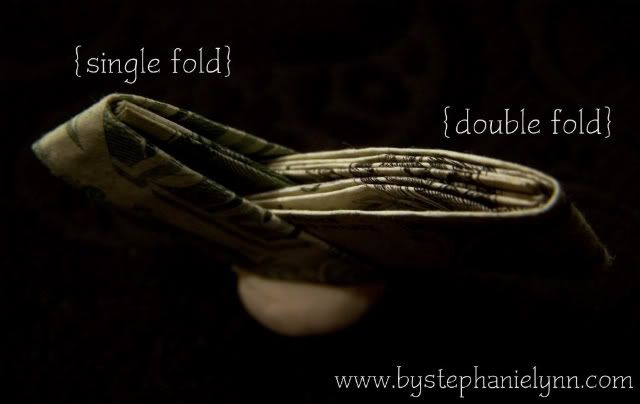
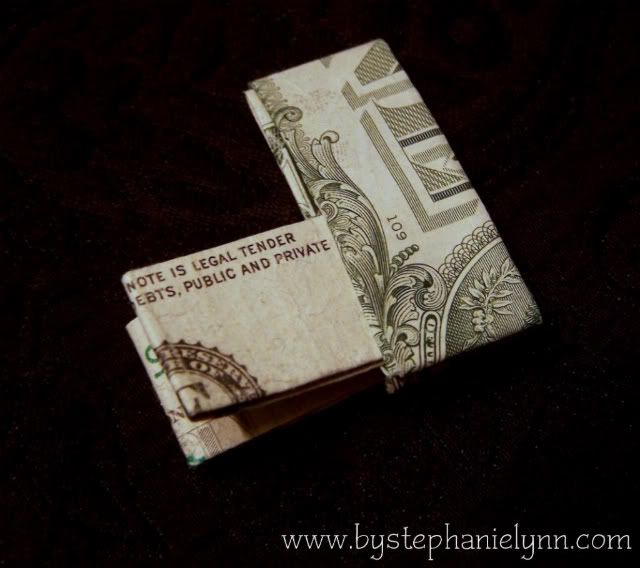
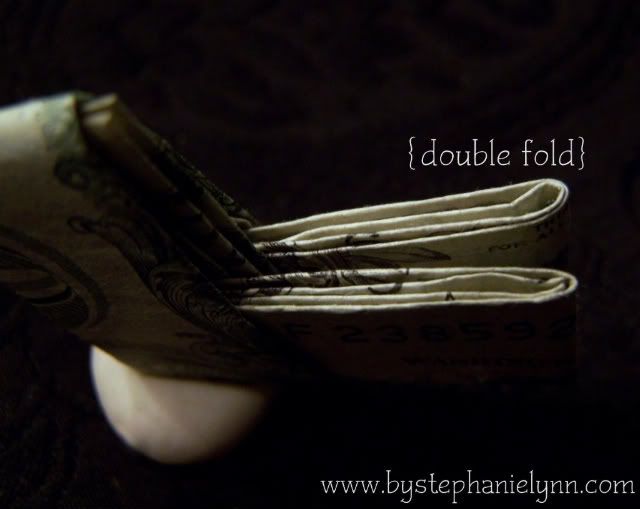
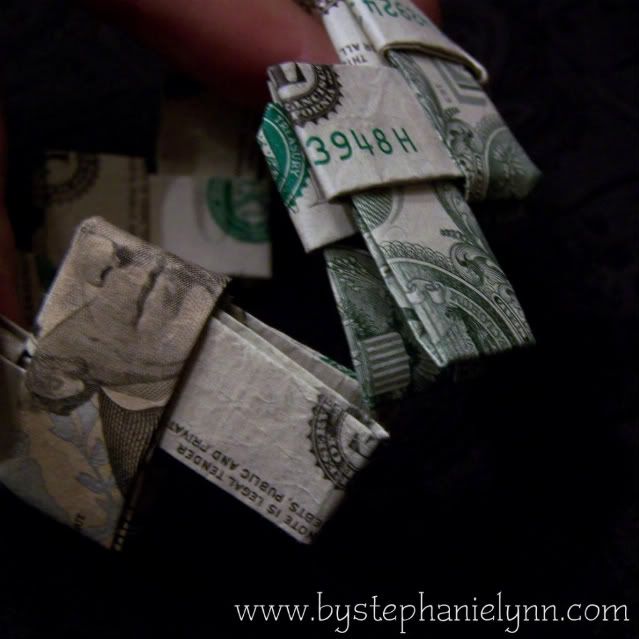
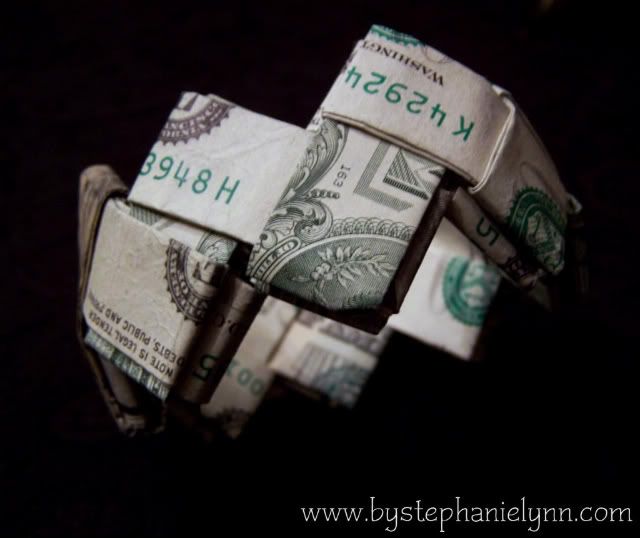
Each side of the bill will be different; one side will have a single fold and the other will have a double fold - as shown above.
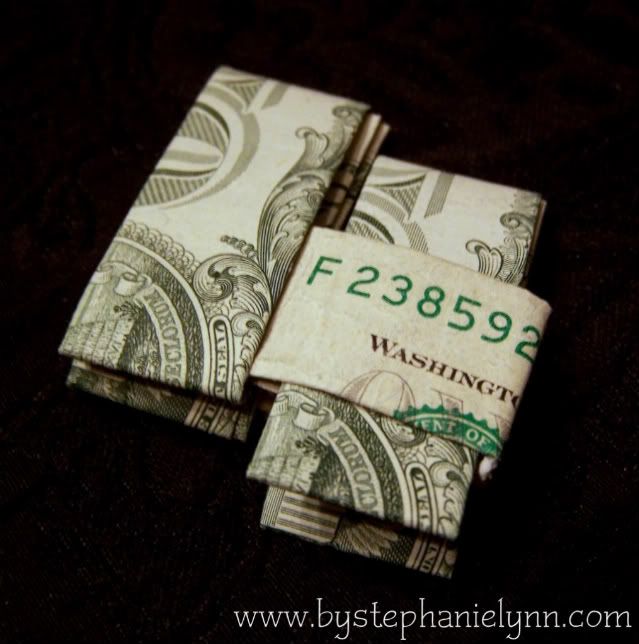
To link together, begin by inserting the double fold side on one bill into the single fold side of another.

Pull the bill all the way through...
...until they 'lock' into place.
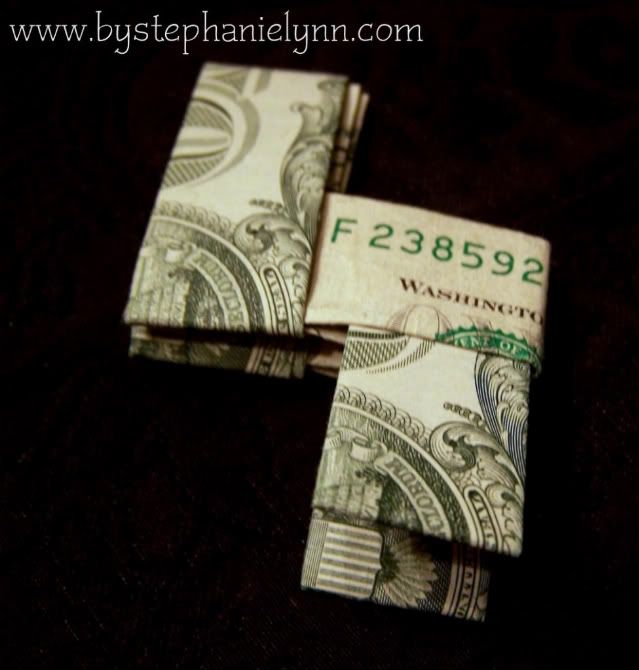
The next link will be inserted into the double fold side. {they will alternate with each bill linked - it sounds complicated but once you start going it is very easy to see}

Insert the single fold side of the next bill into the double fold side.
Pull all the way through...
...until they 'lock' into place.
The next bill will be a double fold side inserted into a single fold side and the following another single fold inserted into a double fold and so on.

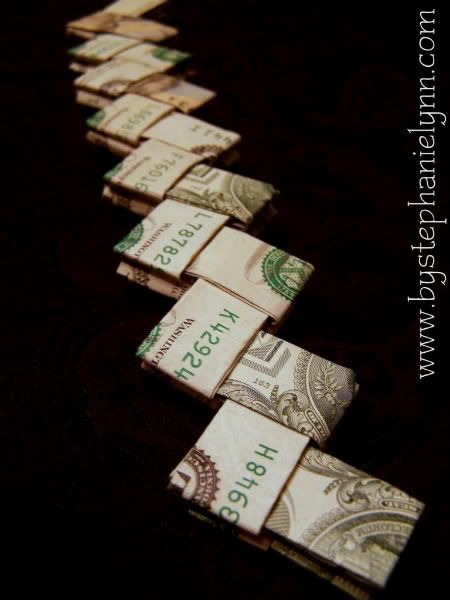
Continue until you have linked all sixteen bills together.
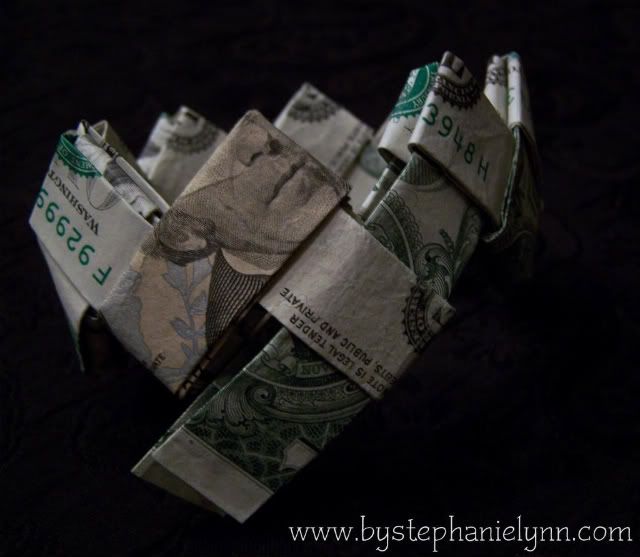
The two ends will look like the picture above.

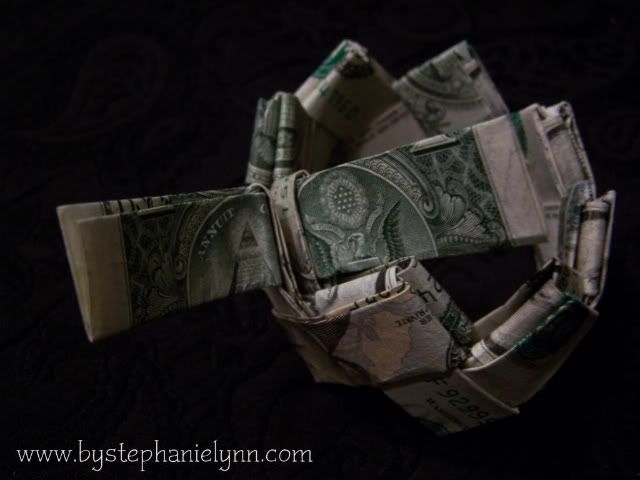
Take one of the ends and unfold the two loops.

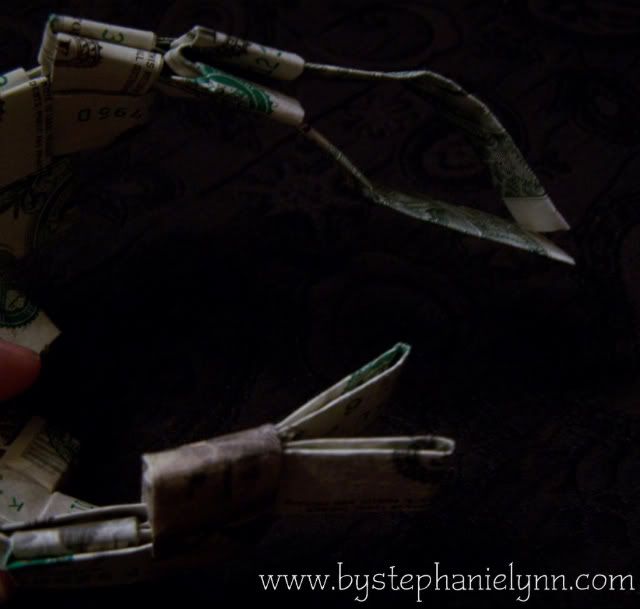
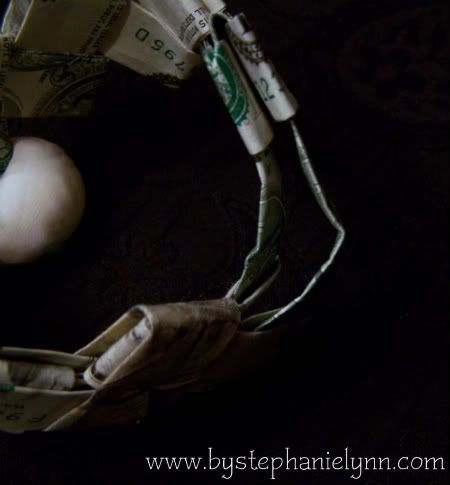
Insert the two 'unfolded' strips into the loops on the other end.
Pull them all the way through...

...until they 'lock' into place.
The last step is to re-tuck the unfolded strips back into place. Turn the bracelet over so the unfolded strips are on top.

Tuck one strip back into its loop...
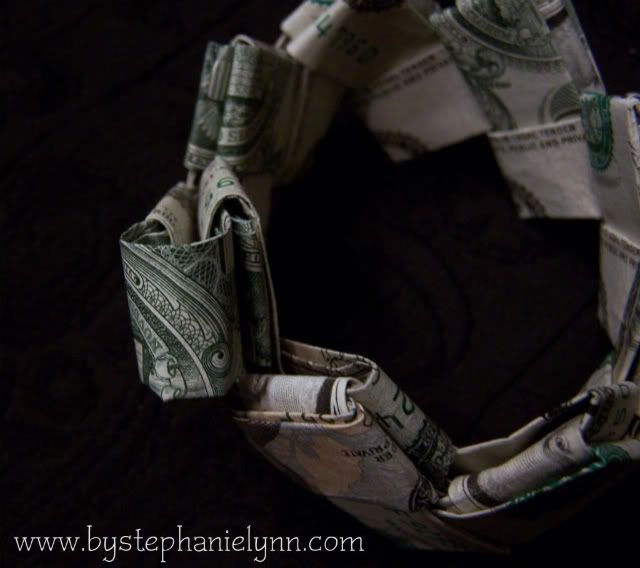
...and tuck the other strip into the same loop.

Despite all the pictures and steps - these are very easy to make. {I just wanted to make sure each and every step was covered as a reference if you get stuck}
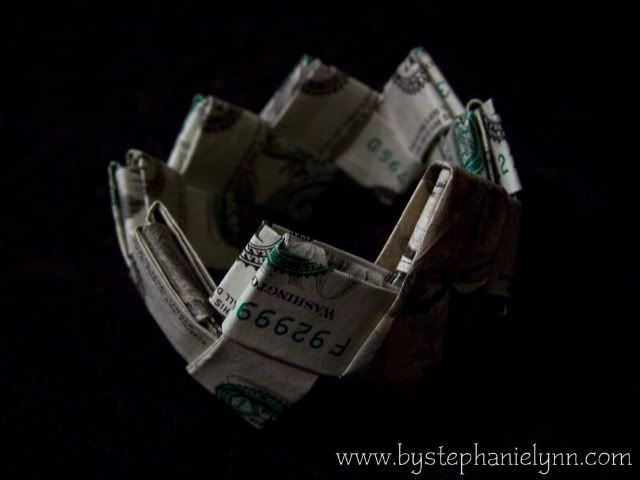
There is a little give in the links so these can actually be worn on your wrist
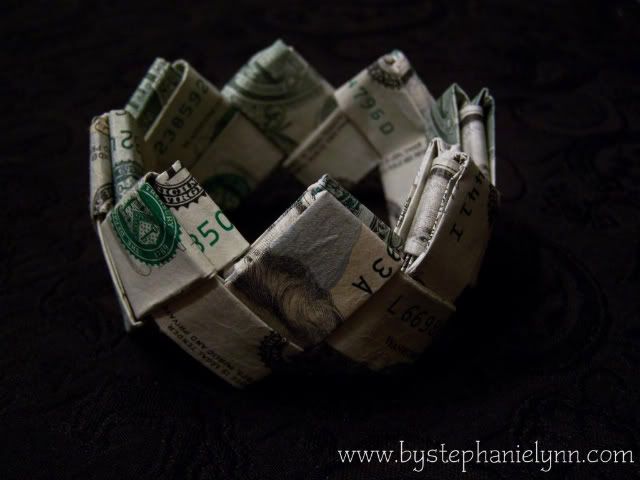
Using sixteen links will give you a bracelet size of about 9 inches {10 inches when stretched}.
Any denomination of bills can be used as I like to tuck in a few larger bills as a surprise.
Emily, Thank you so much for inviting me today. I wish you all a fabulous Holiday Season ~ Enjoy!

Well, I hope you all enjoyed Stephanie. Take
Thanks again Stephanie Lynn! I hope you all have a wonderfully Merry Christmas. Don't forget to check back Wednesday for anothe awesome guest blogger!
